


- October 06th, 2014
- /
- Pocket Hole Joinery Tips
- /
- 0 Comments
- /
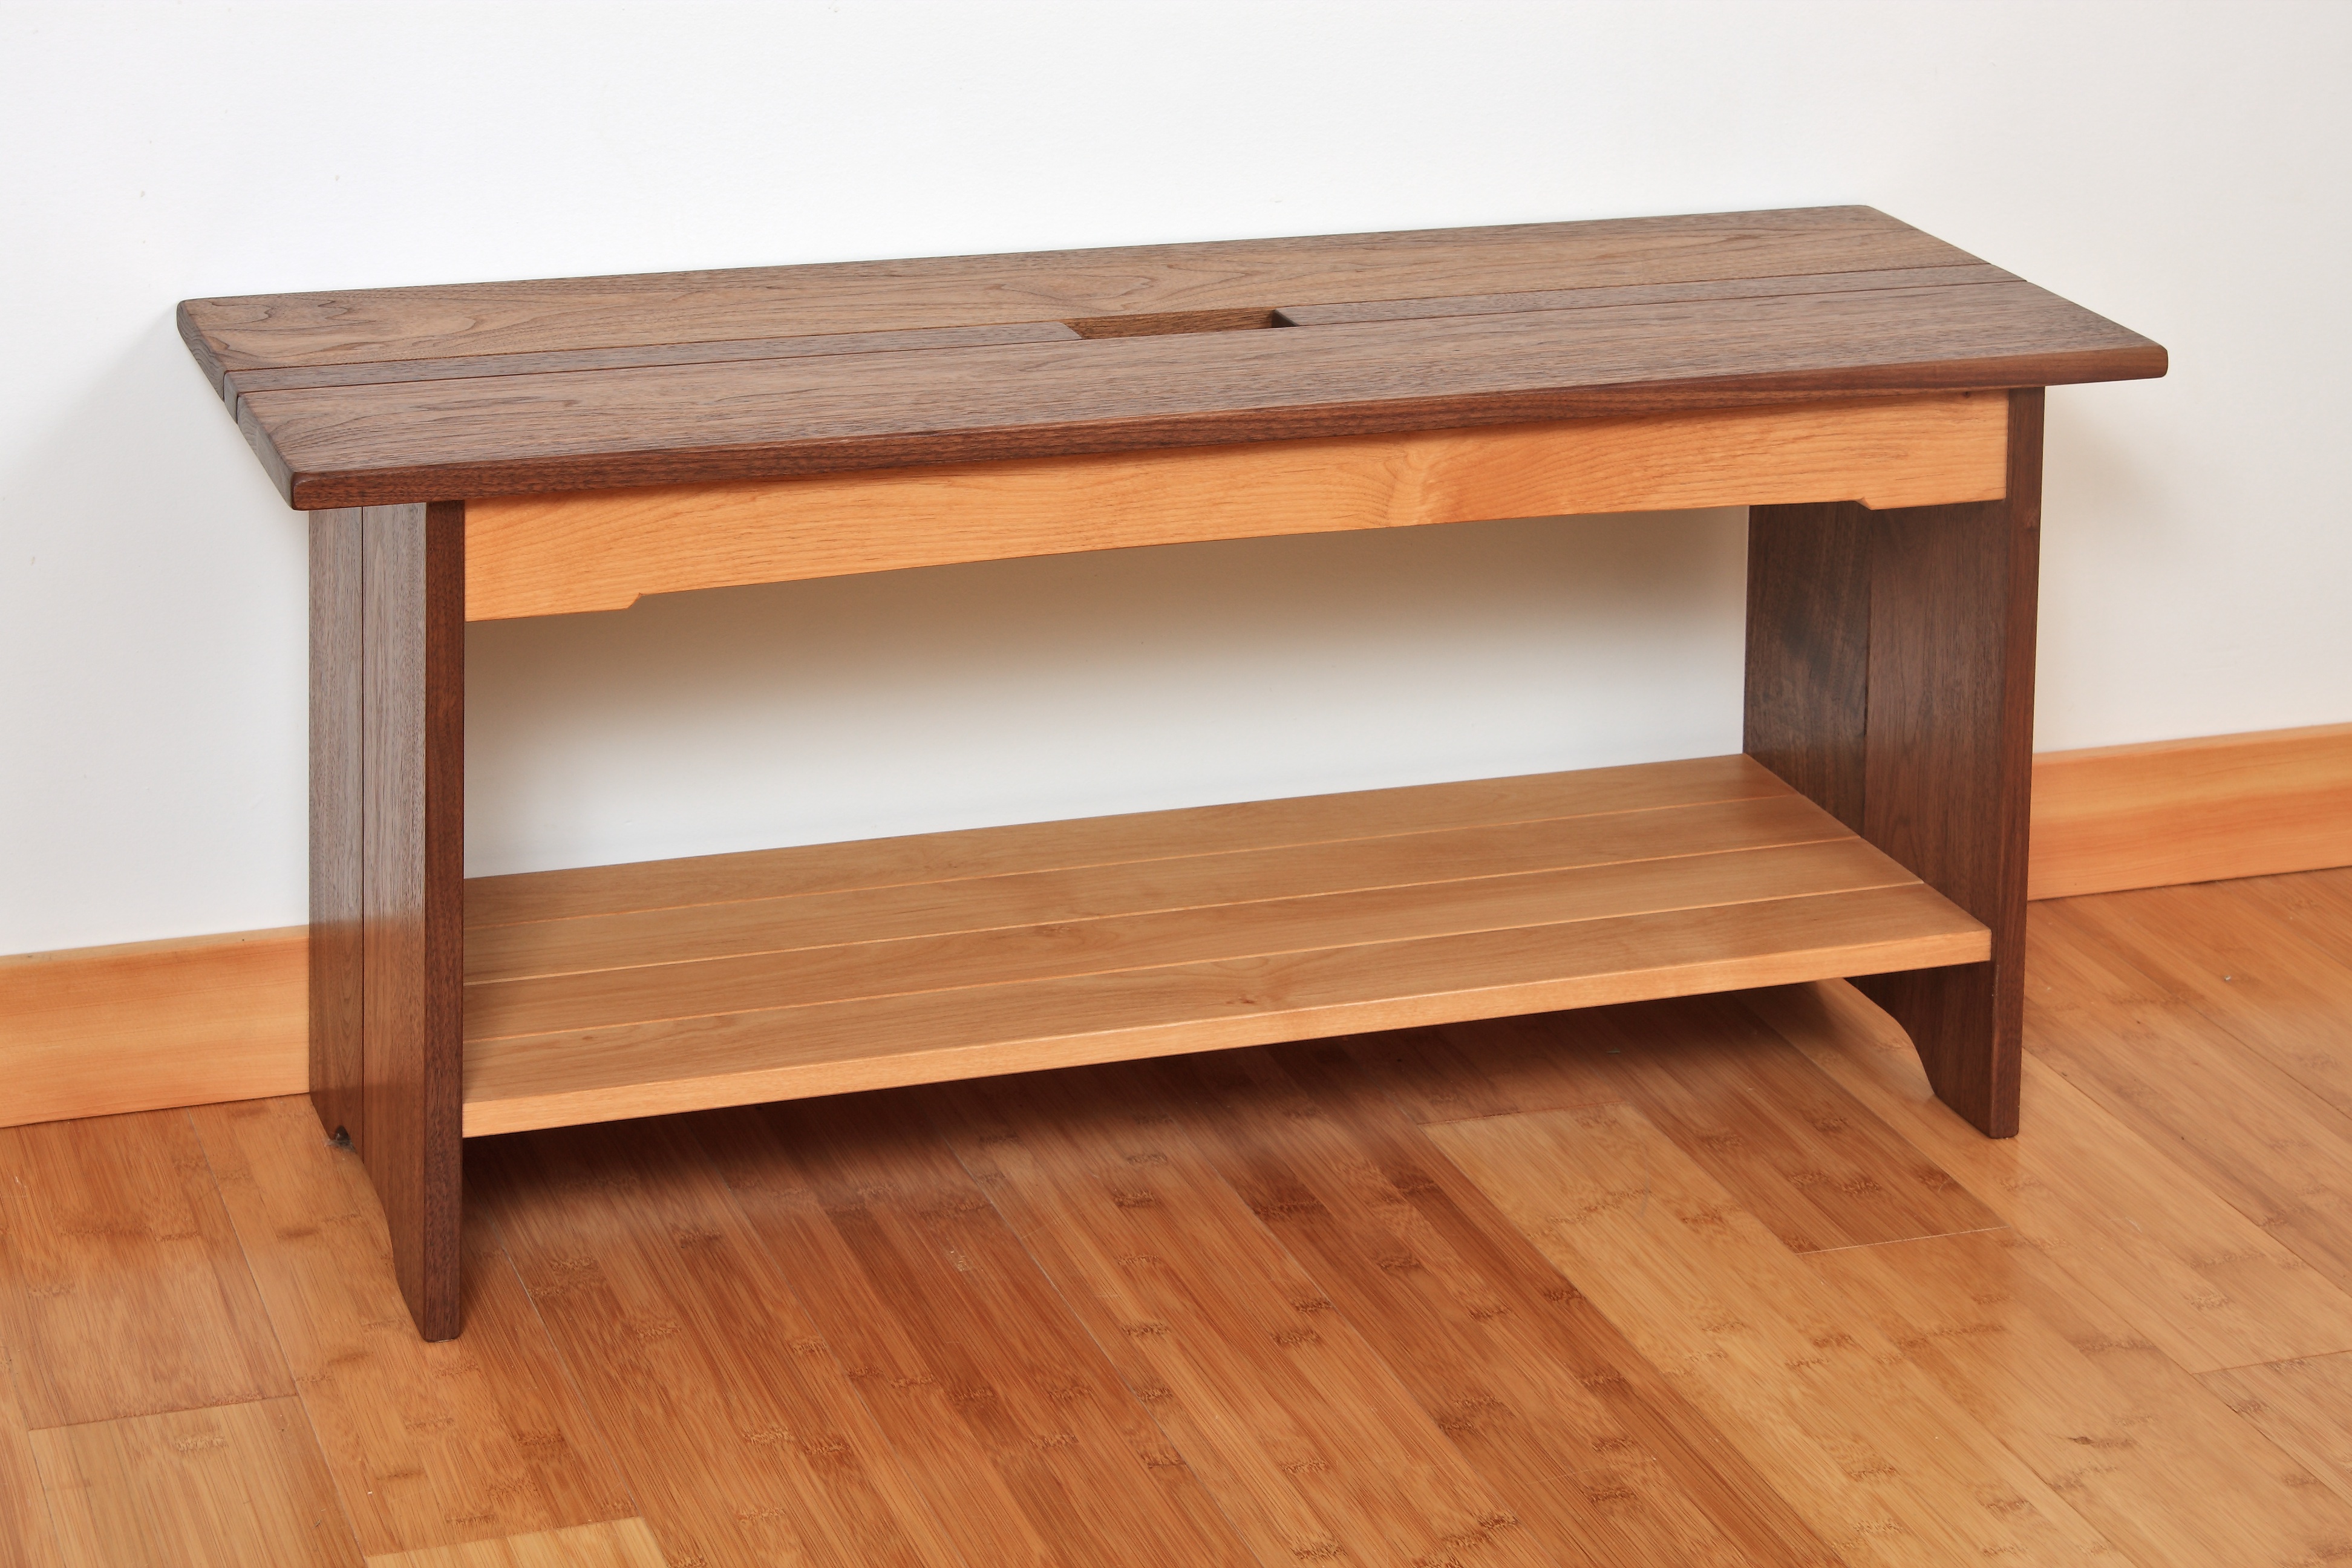
- Blanket Bench

The blanket bench is the first project in the book. It was the last project that I built so in a way I feel like it was the most fun. Writing, building and shooting pictures all at the same time is just like anything else, the more you do it the better you get. So with the blanket bench being the last piece I really feel like I hit the bull’s eye. Its a simple project that doesn’t rely on fancy tools or extra wide boards or a huge stack of clamps. The book covers the construction details clearly but the blog gives me a chance to pump more photos into the conversation and point out a few areas where pocket hole joinery really shines. I coined the name, “blanket bench”, as a play on the more common name blanket chest. Its really just a bench with a shelf. The shelf hides pocket screws so that’s cool. The material is all under 6” wide and are short in length. Hopefully you can just grab scrap wood leaning against your shop wall to build it, at least that was my intention. Edge joining boards it the central theme through out the construction. I like that I can create a tongue and groove look without messing with a router table.
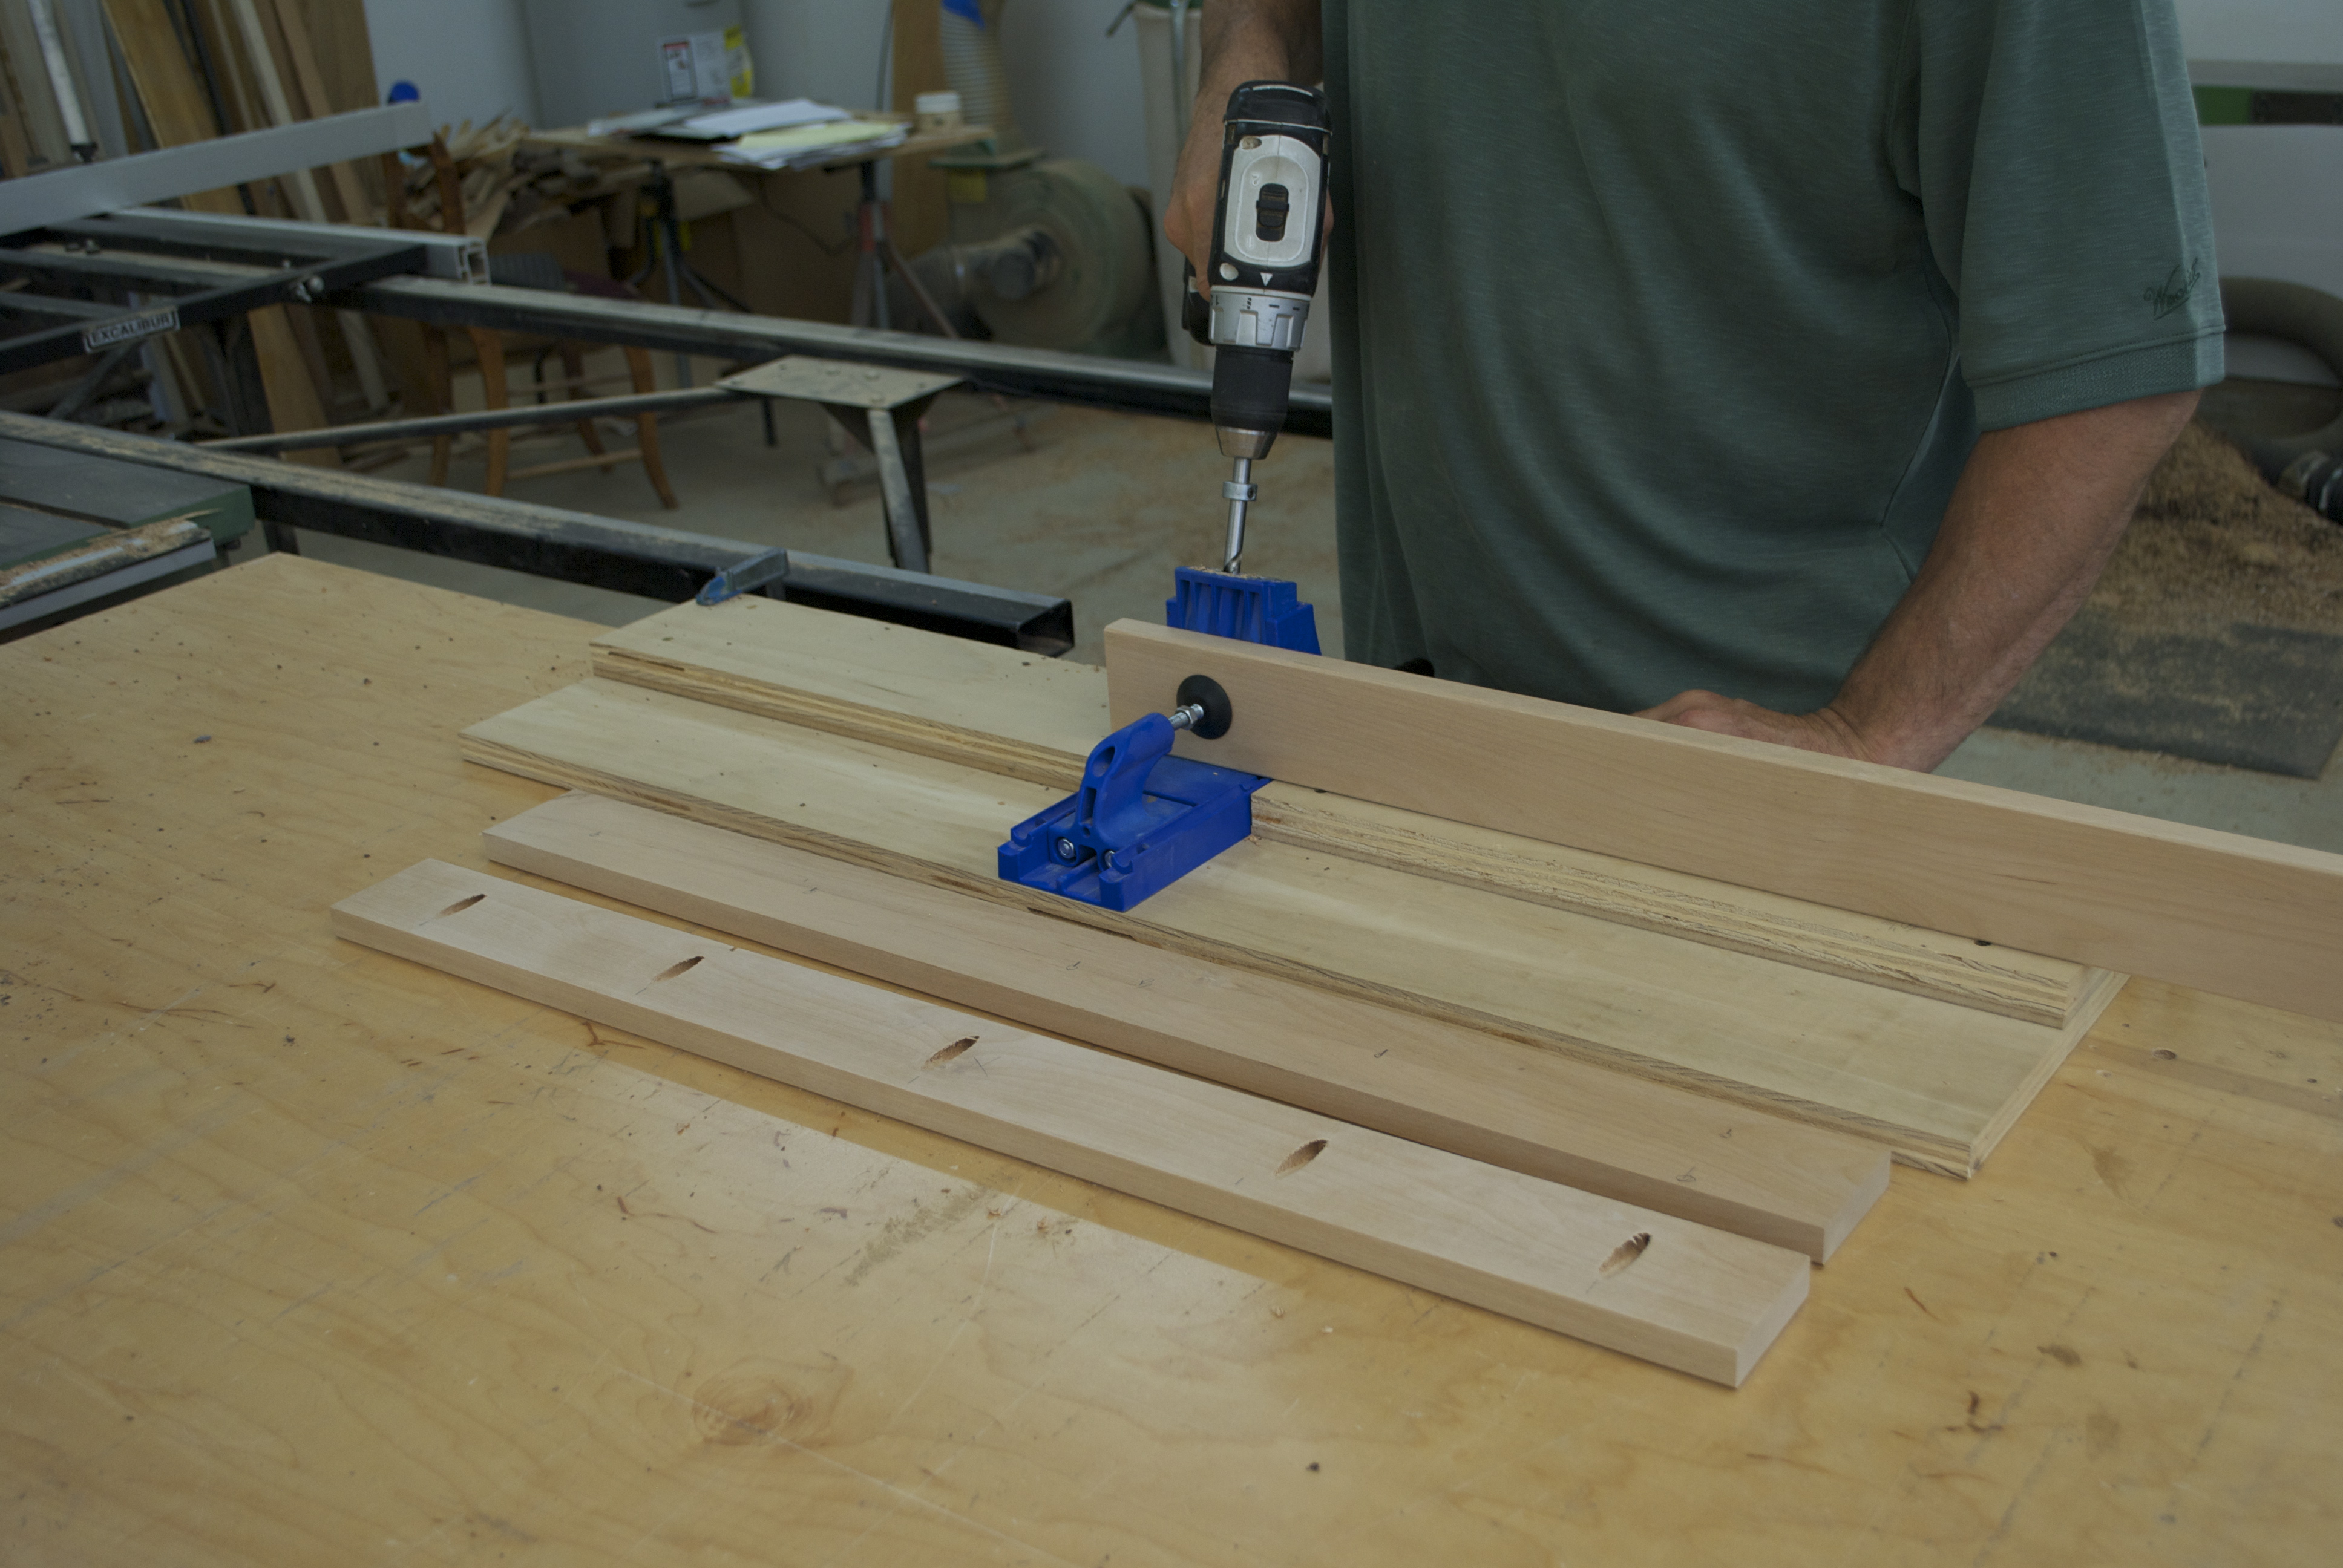
There are four boards in the shelf but only three of them need pocket holes
Its key that the width of the boards being joined is not wider then the throat on your face clamp.
You just work your way along, clamping and screwing. The right angle jig holds the assembly up and allows downward pressure on the drill, making it easier to drive screws. You could clamp it to a bench top but the work always seems to shift away from the drill direction during assembly.
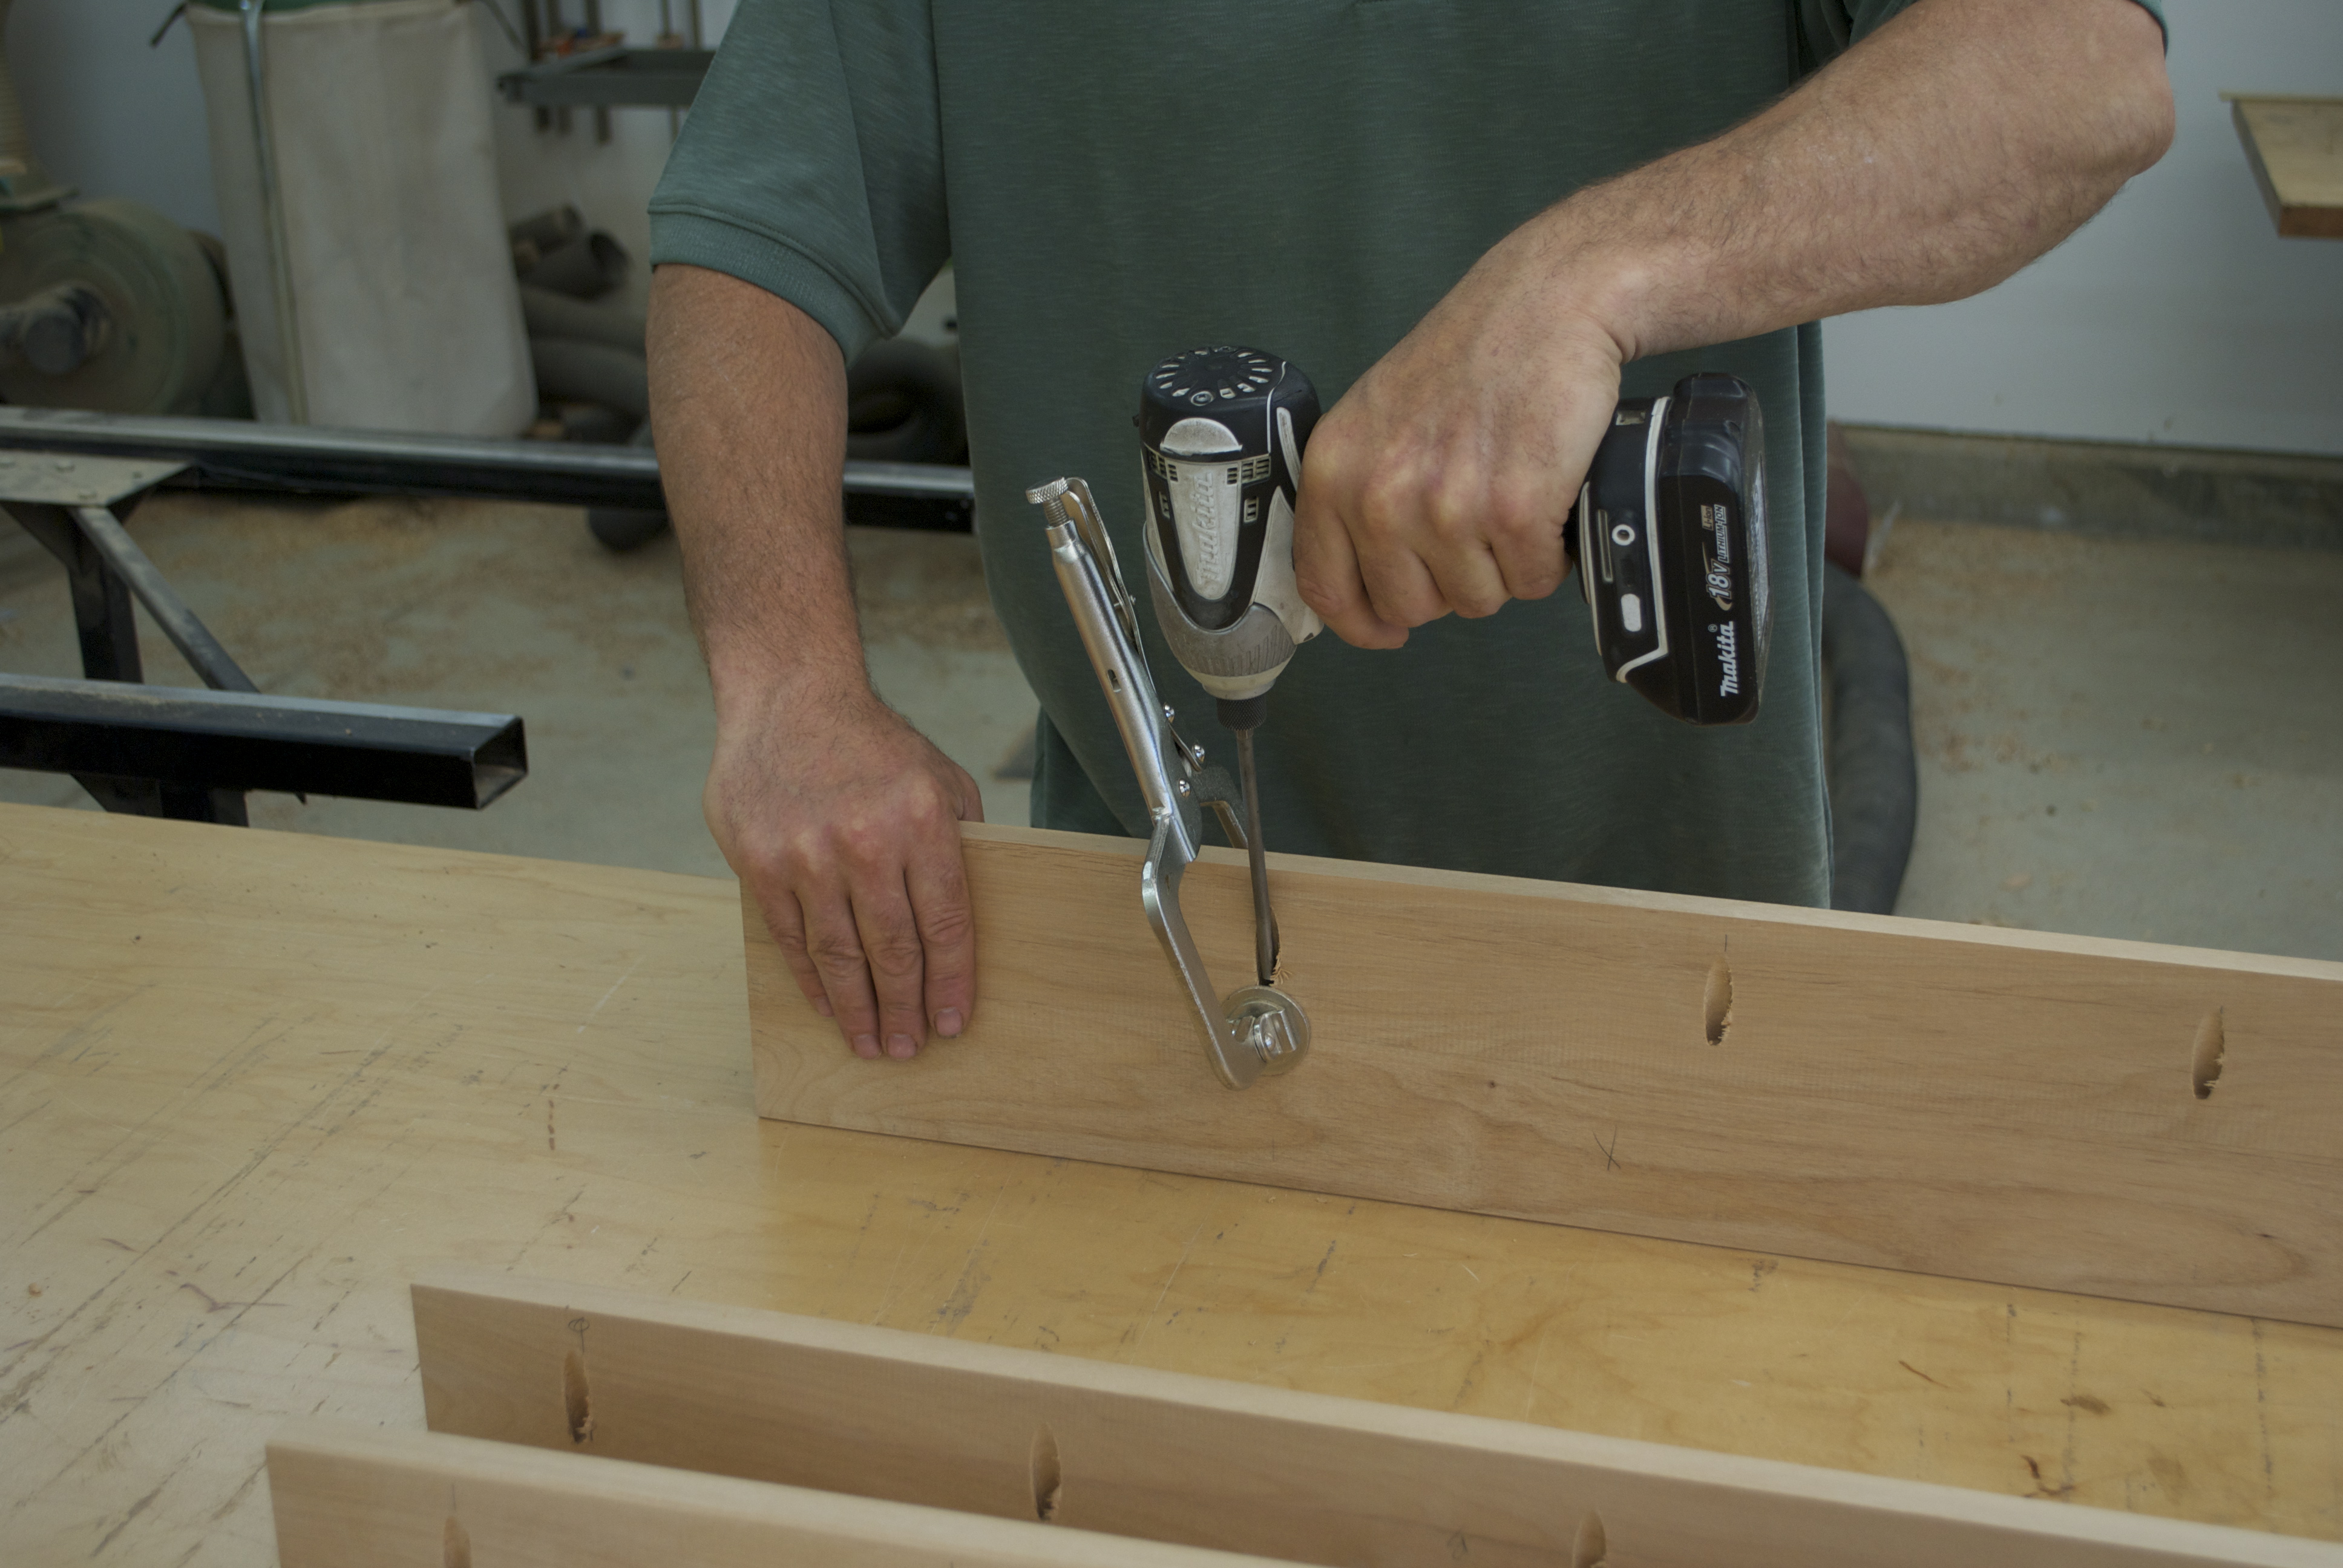
Its the same process for each row. I suppose you could just keep going and going and…
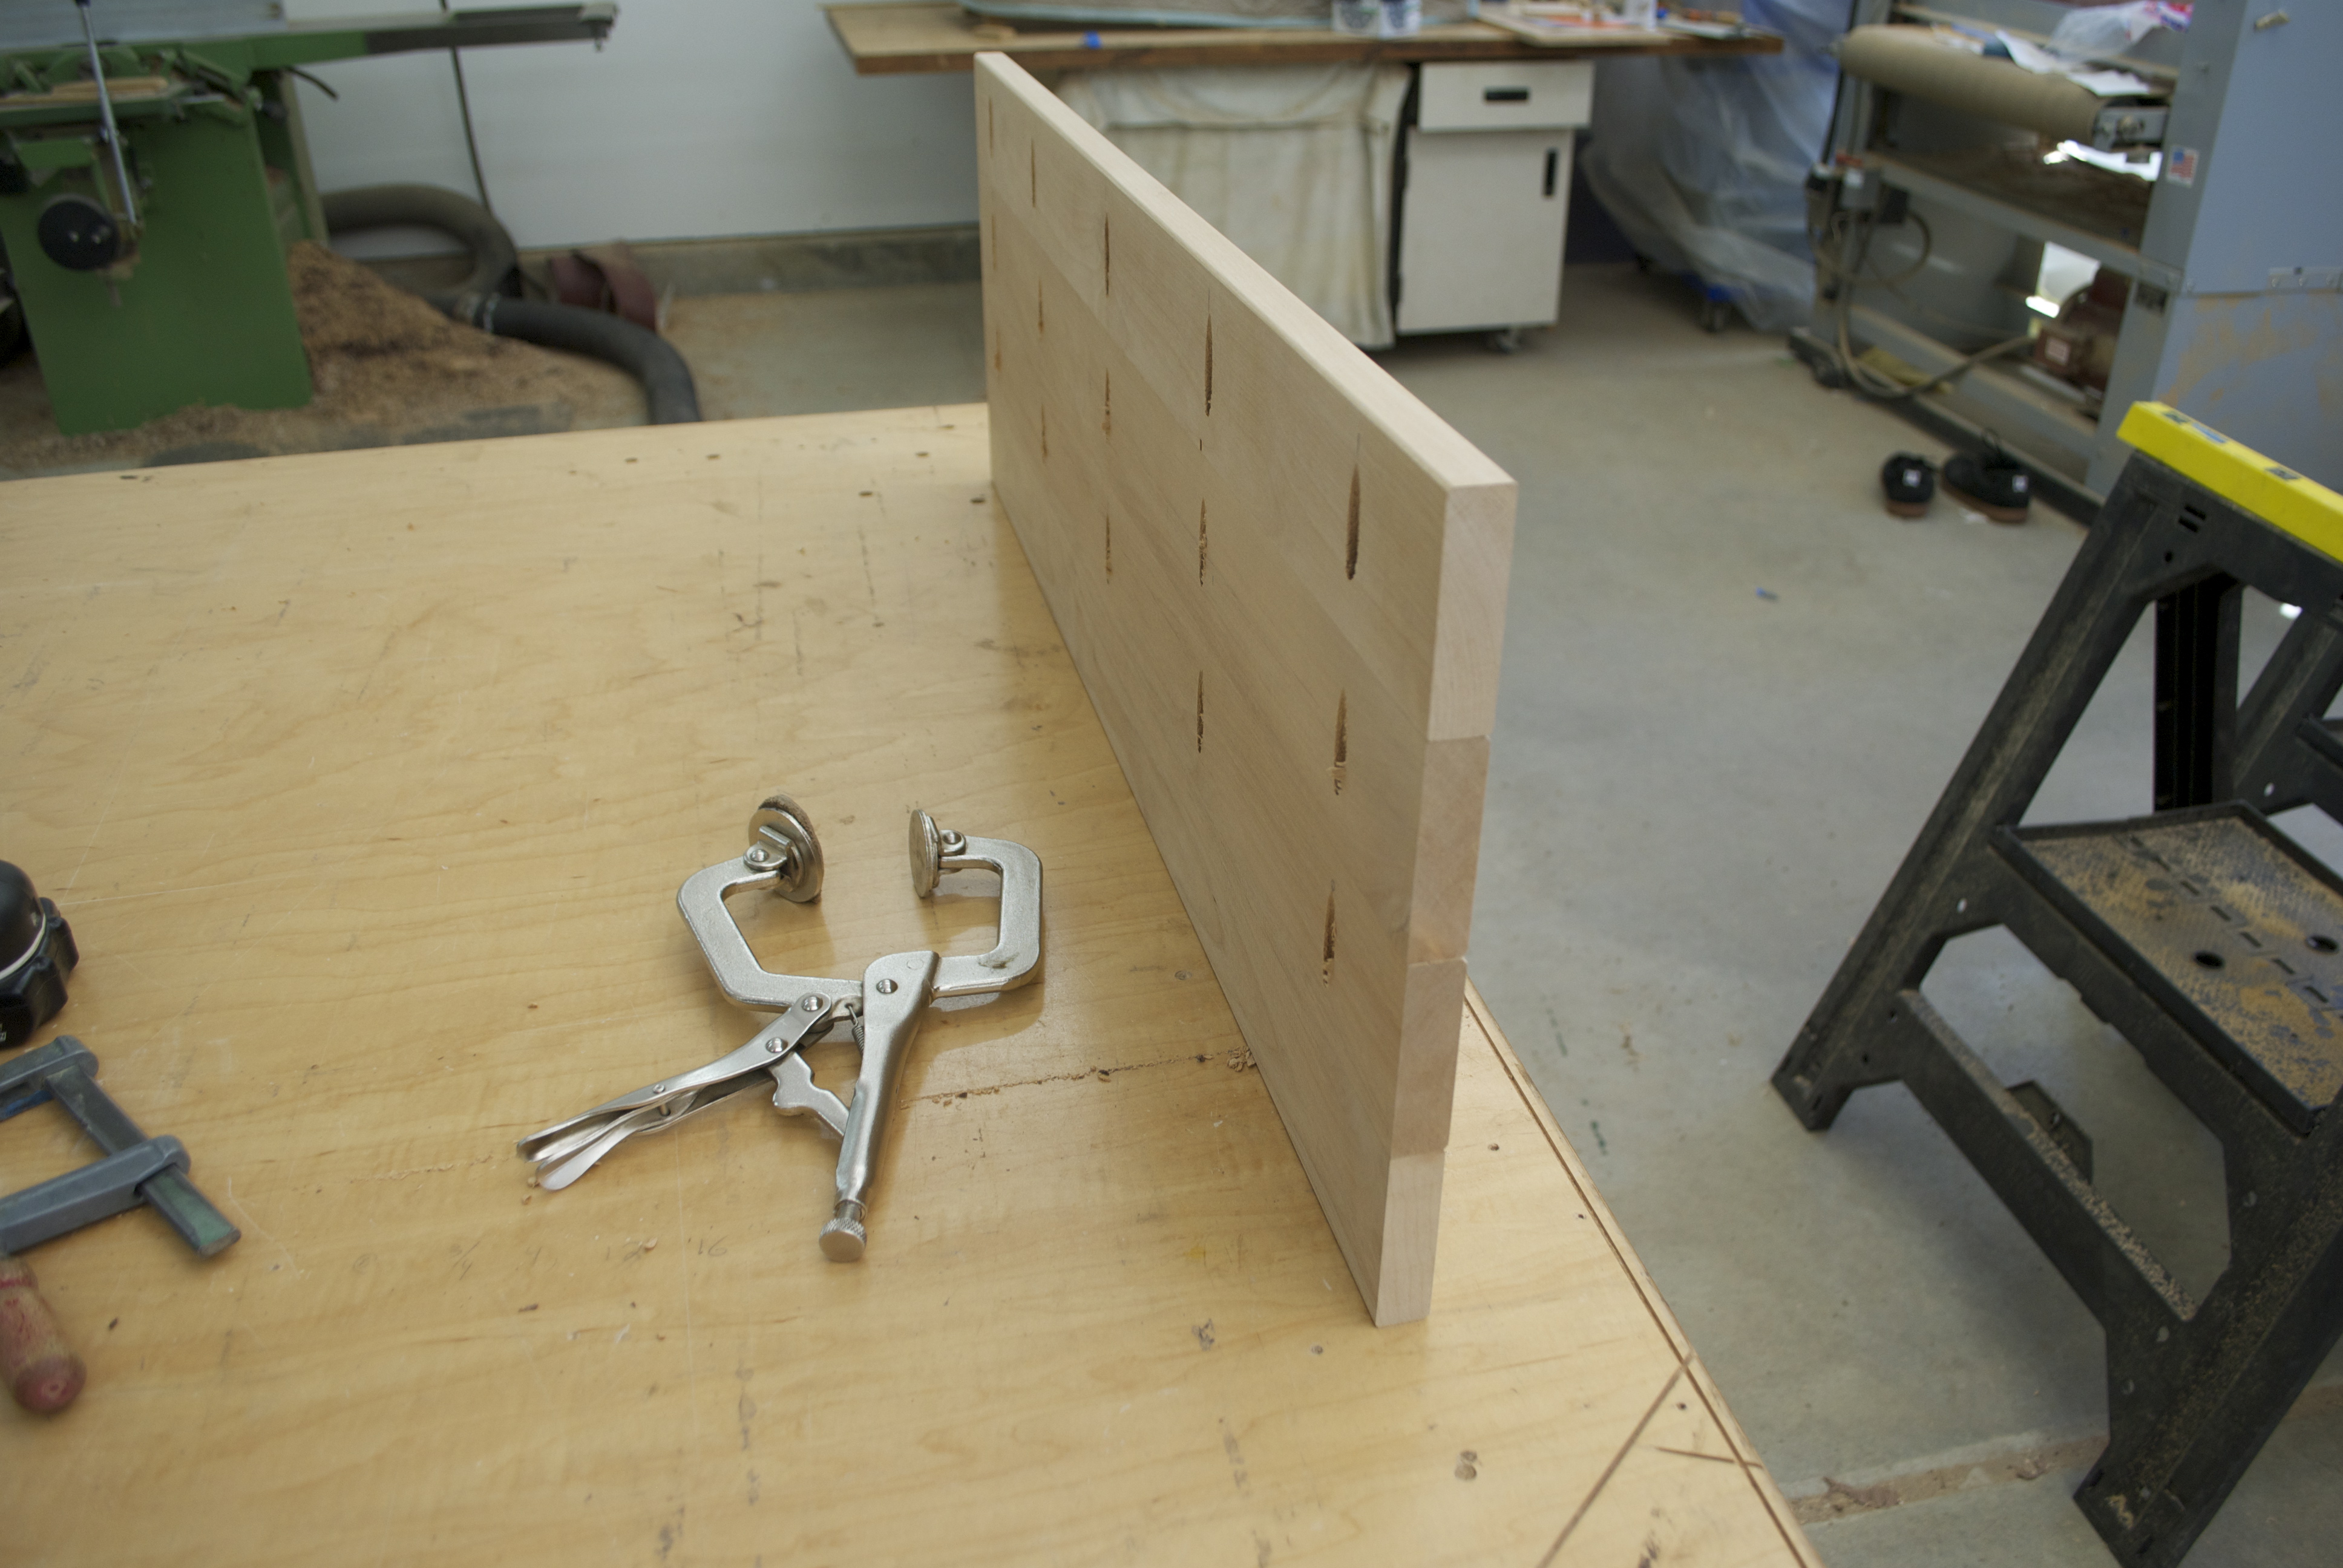
The finished shelf is straight, surprisingly. Sure it looks like it was shot full of holes but it a low shelf on a low bench so if someone wants to crane their neck to see them that’s fine with me.
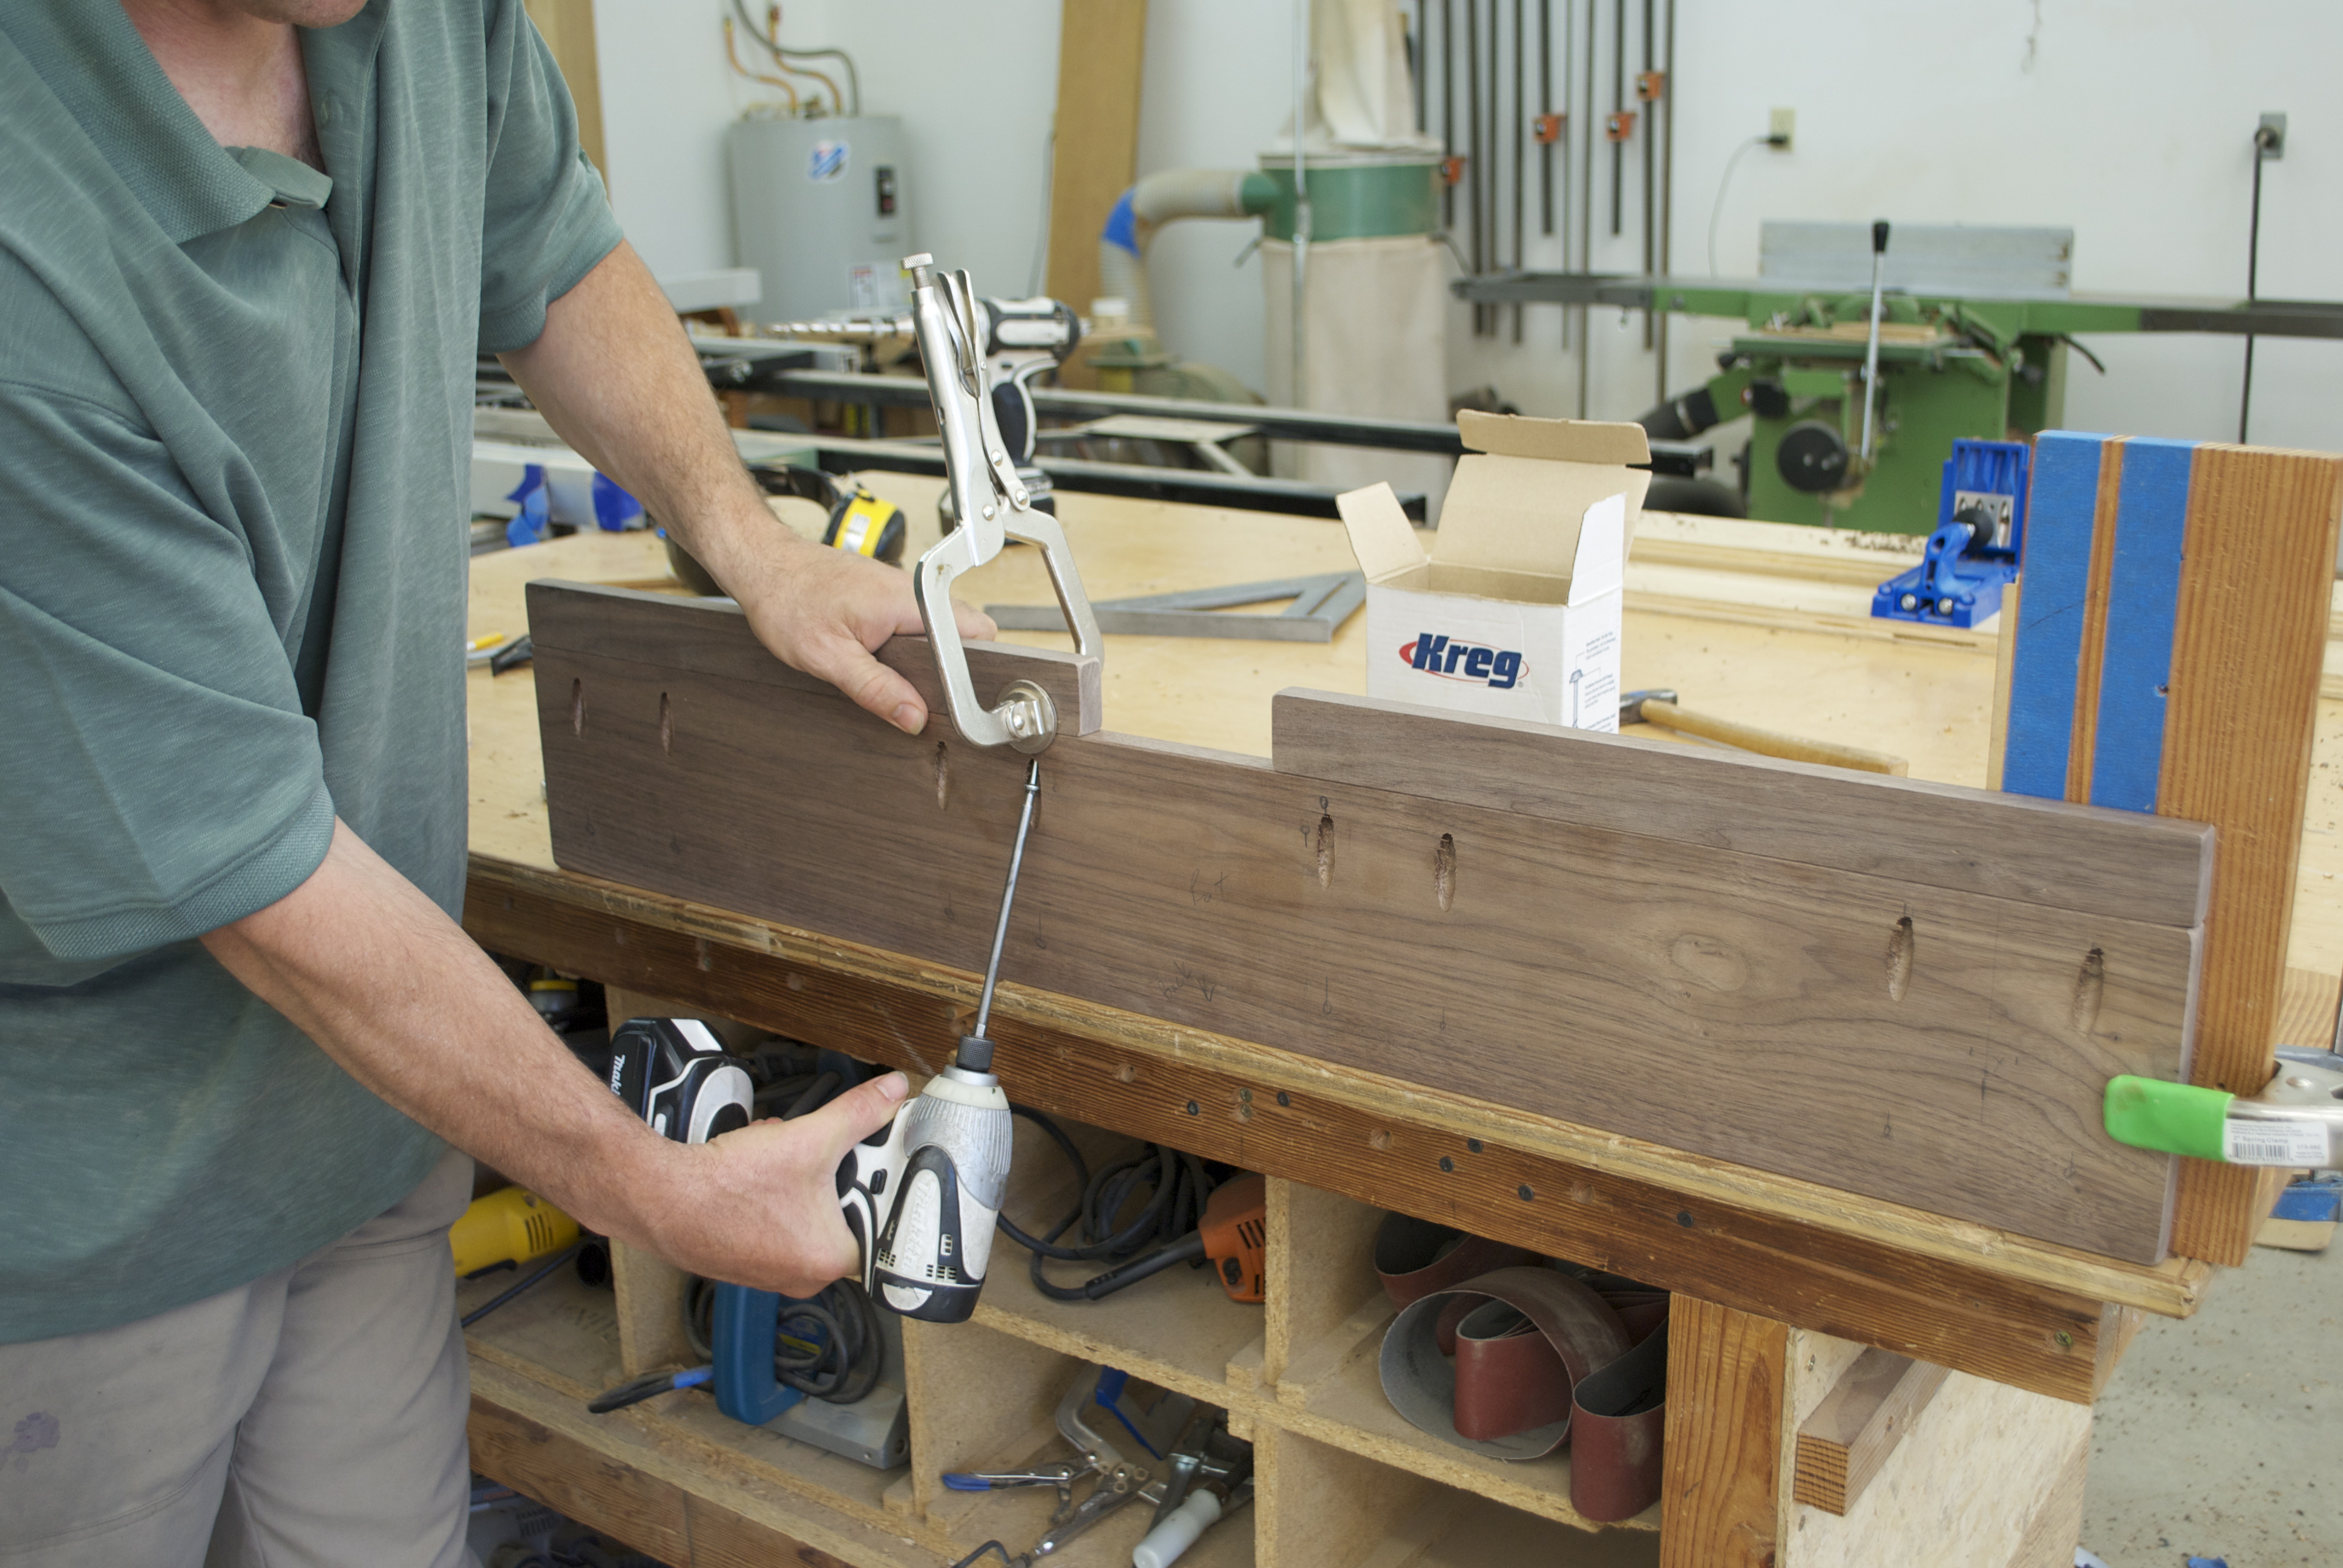
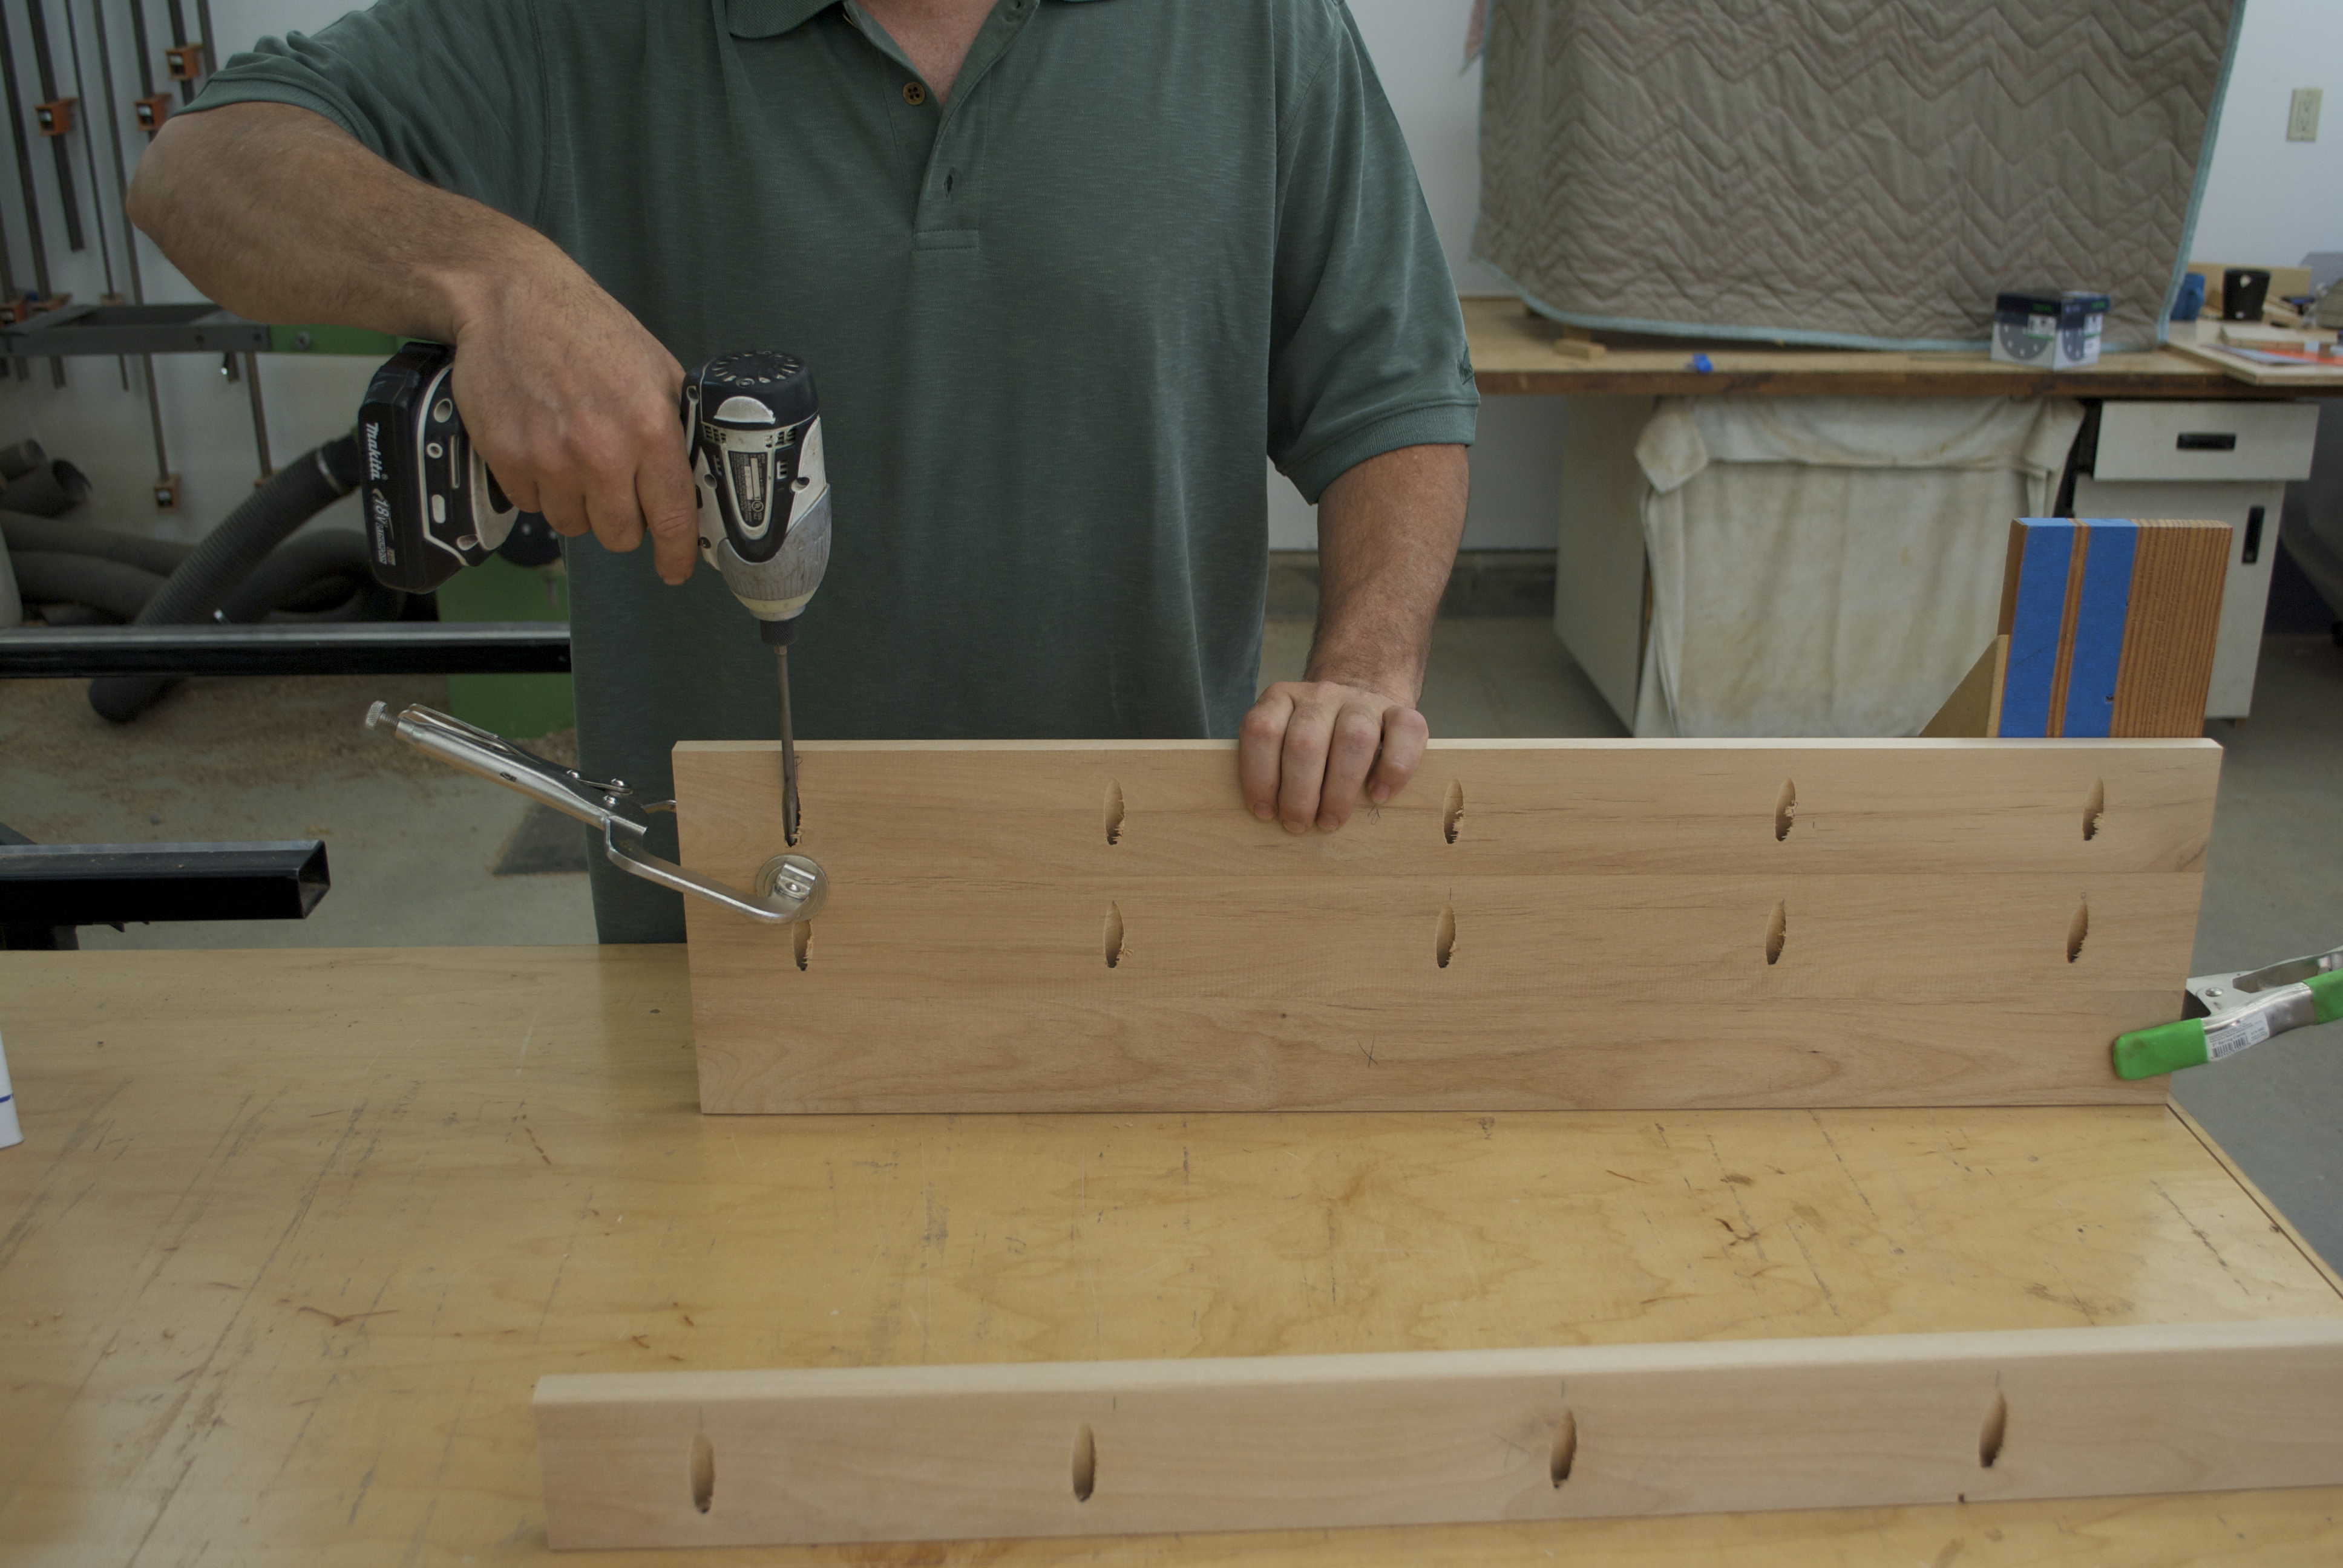
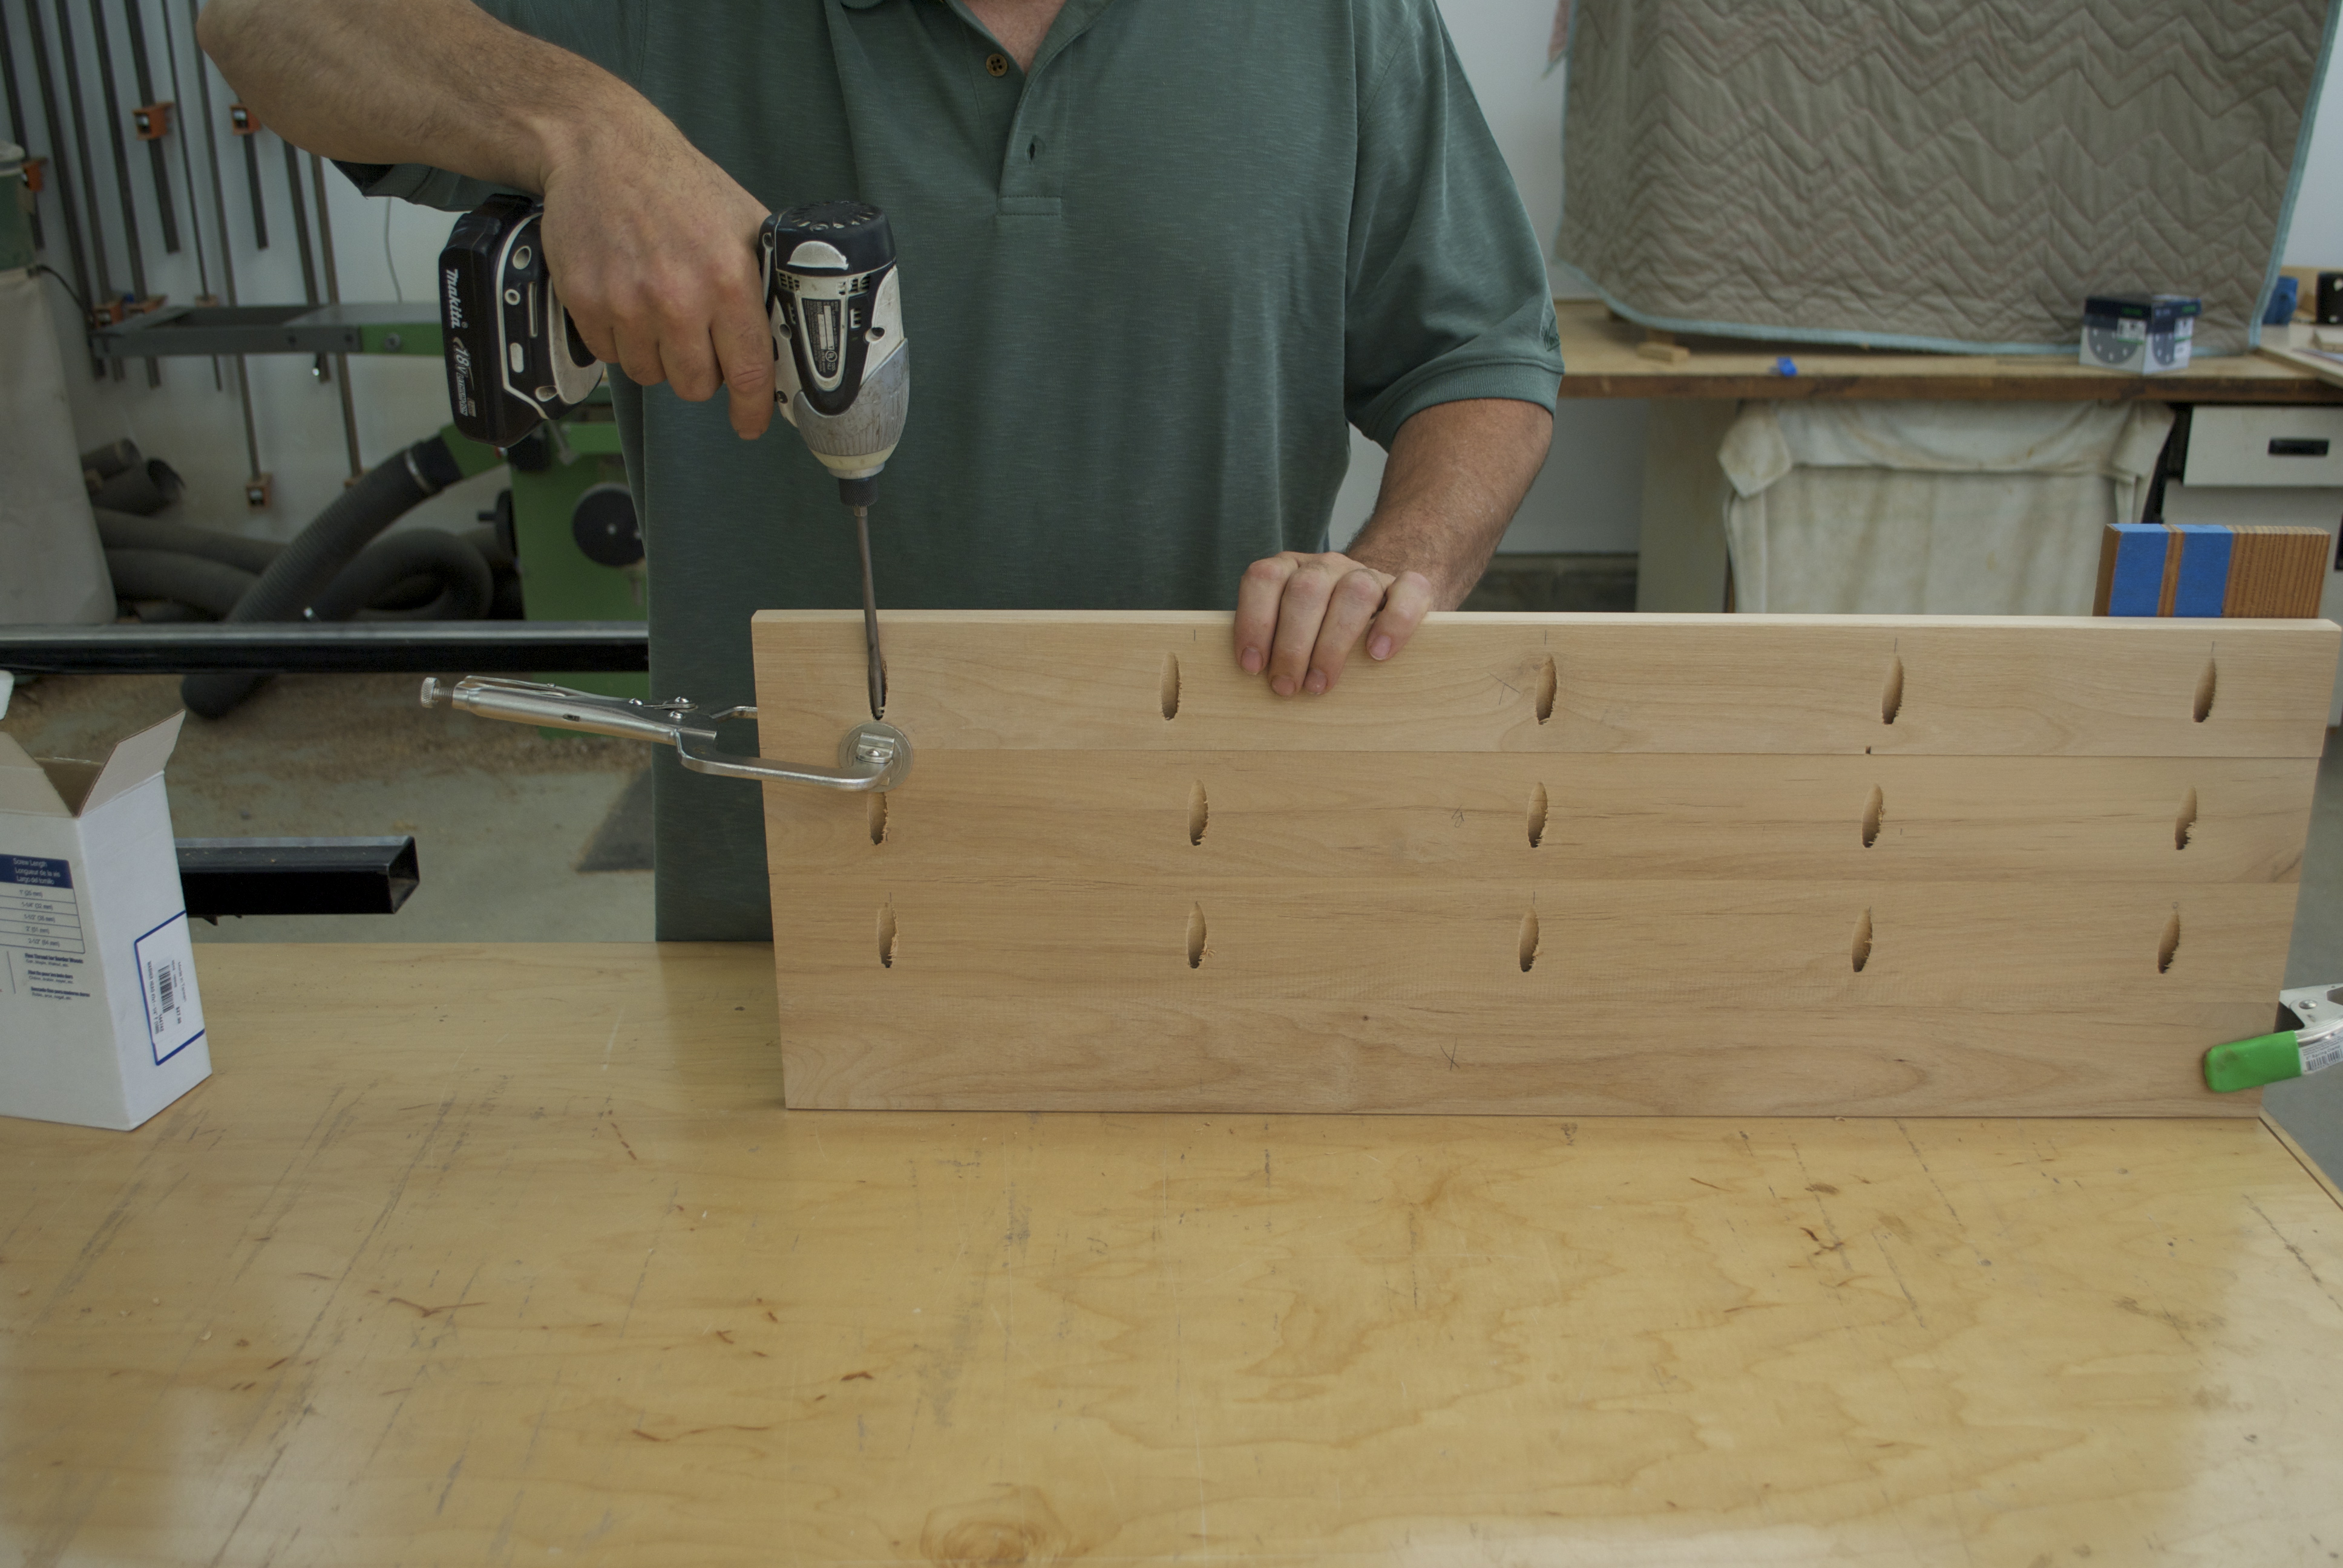
The top of the bench follows the same construction steps. The difference is that the boards are wider and I don’t have face clamp with that much throat depth. A gap in the middle of the bench top serves as both a handhold and a place to slip a face clamp into.
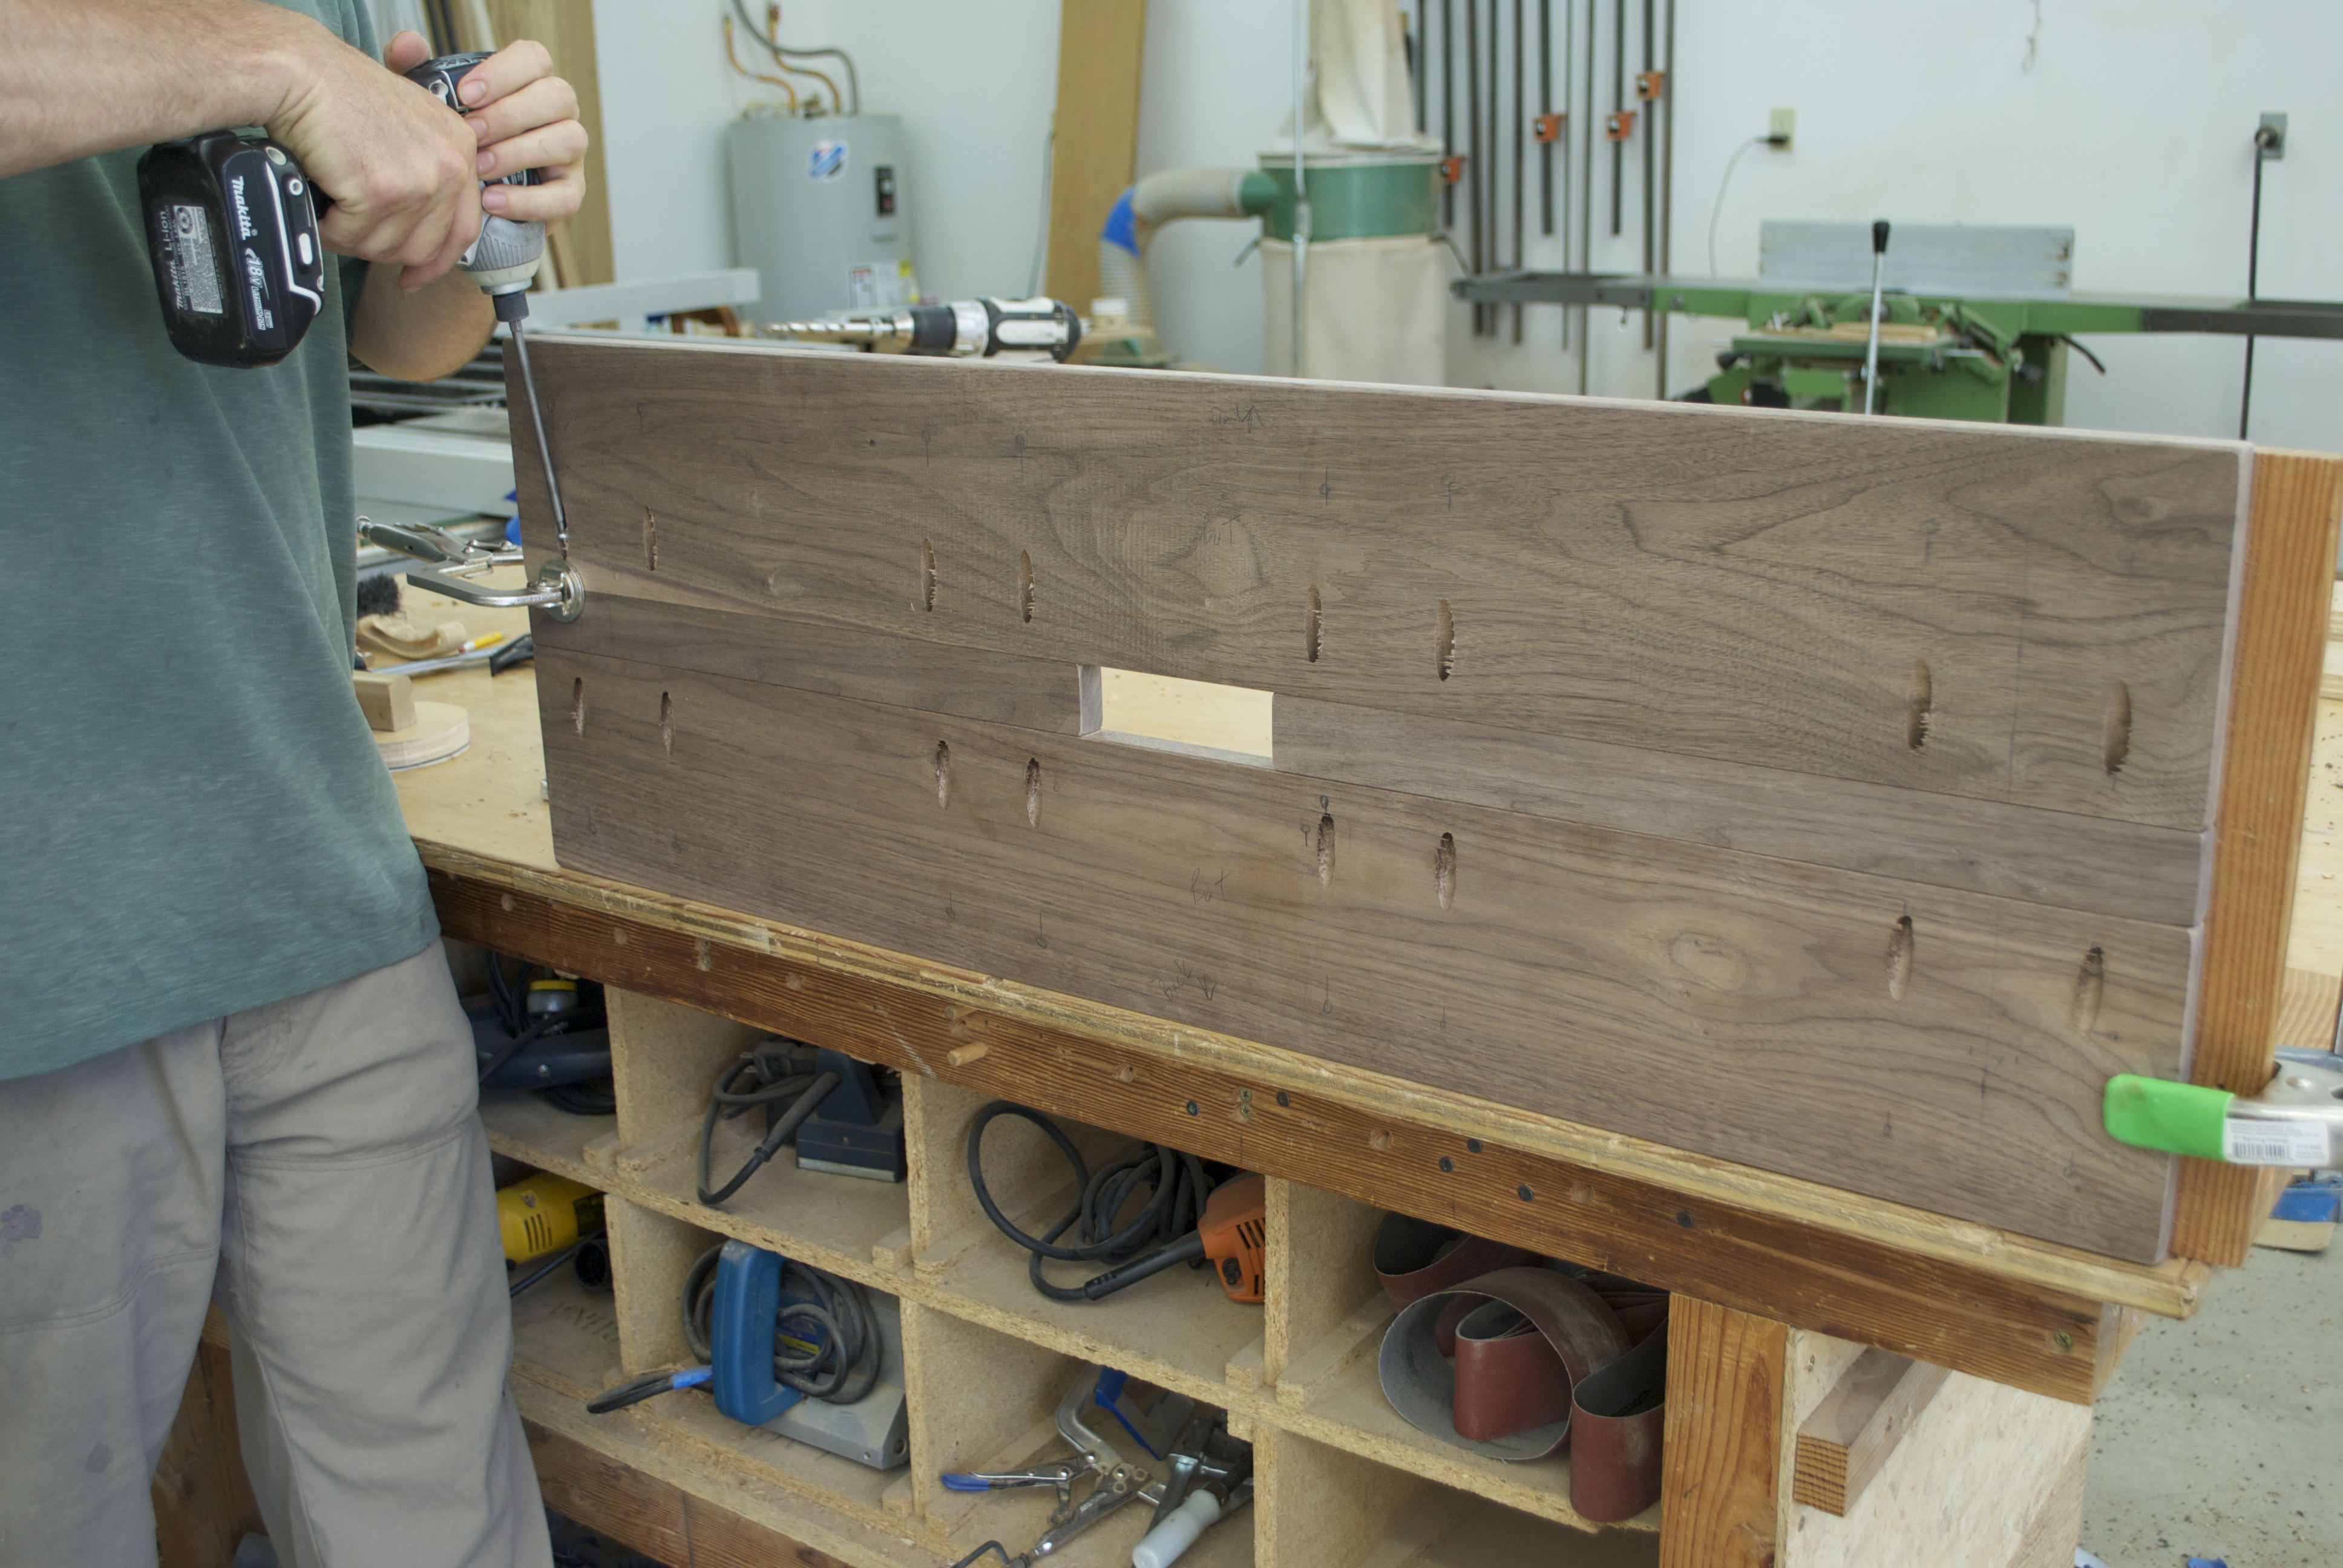
With the right angle jig holding one end I start with the screws that can be reached with the face clamp.
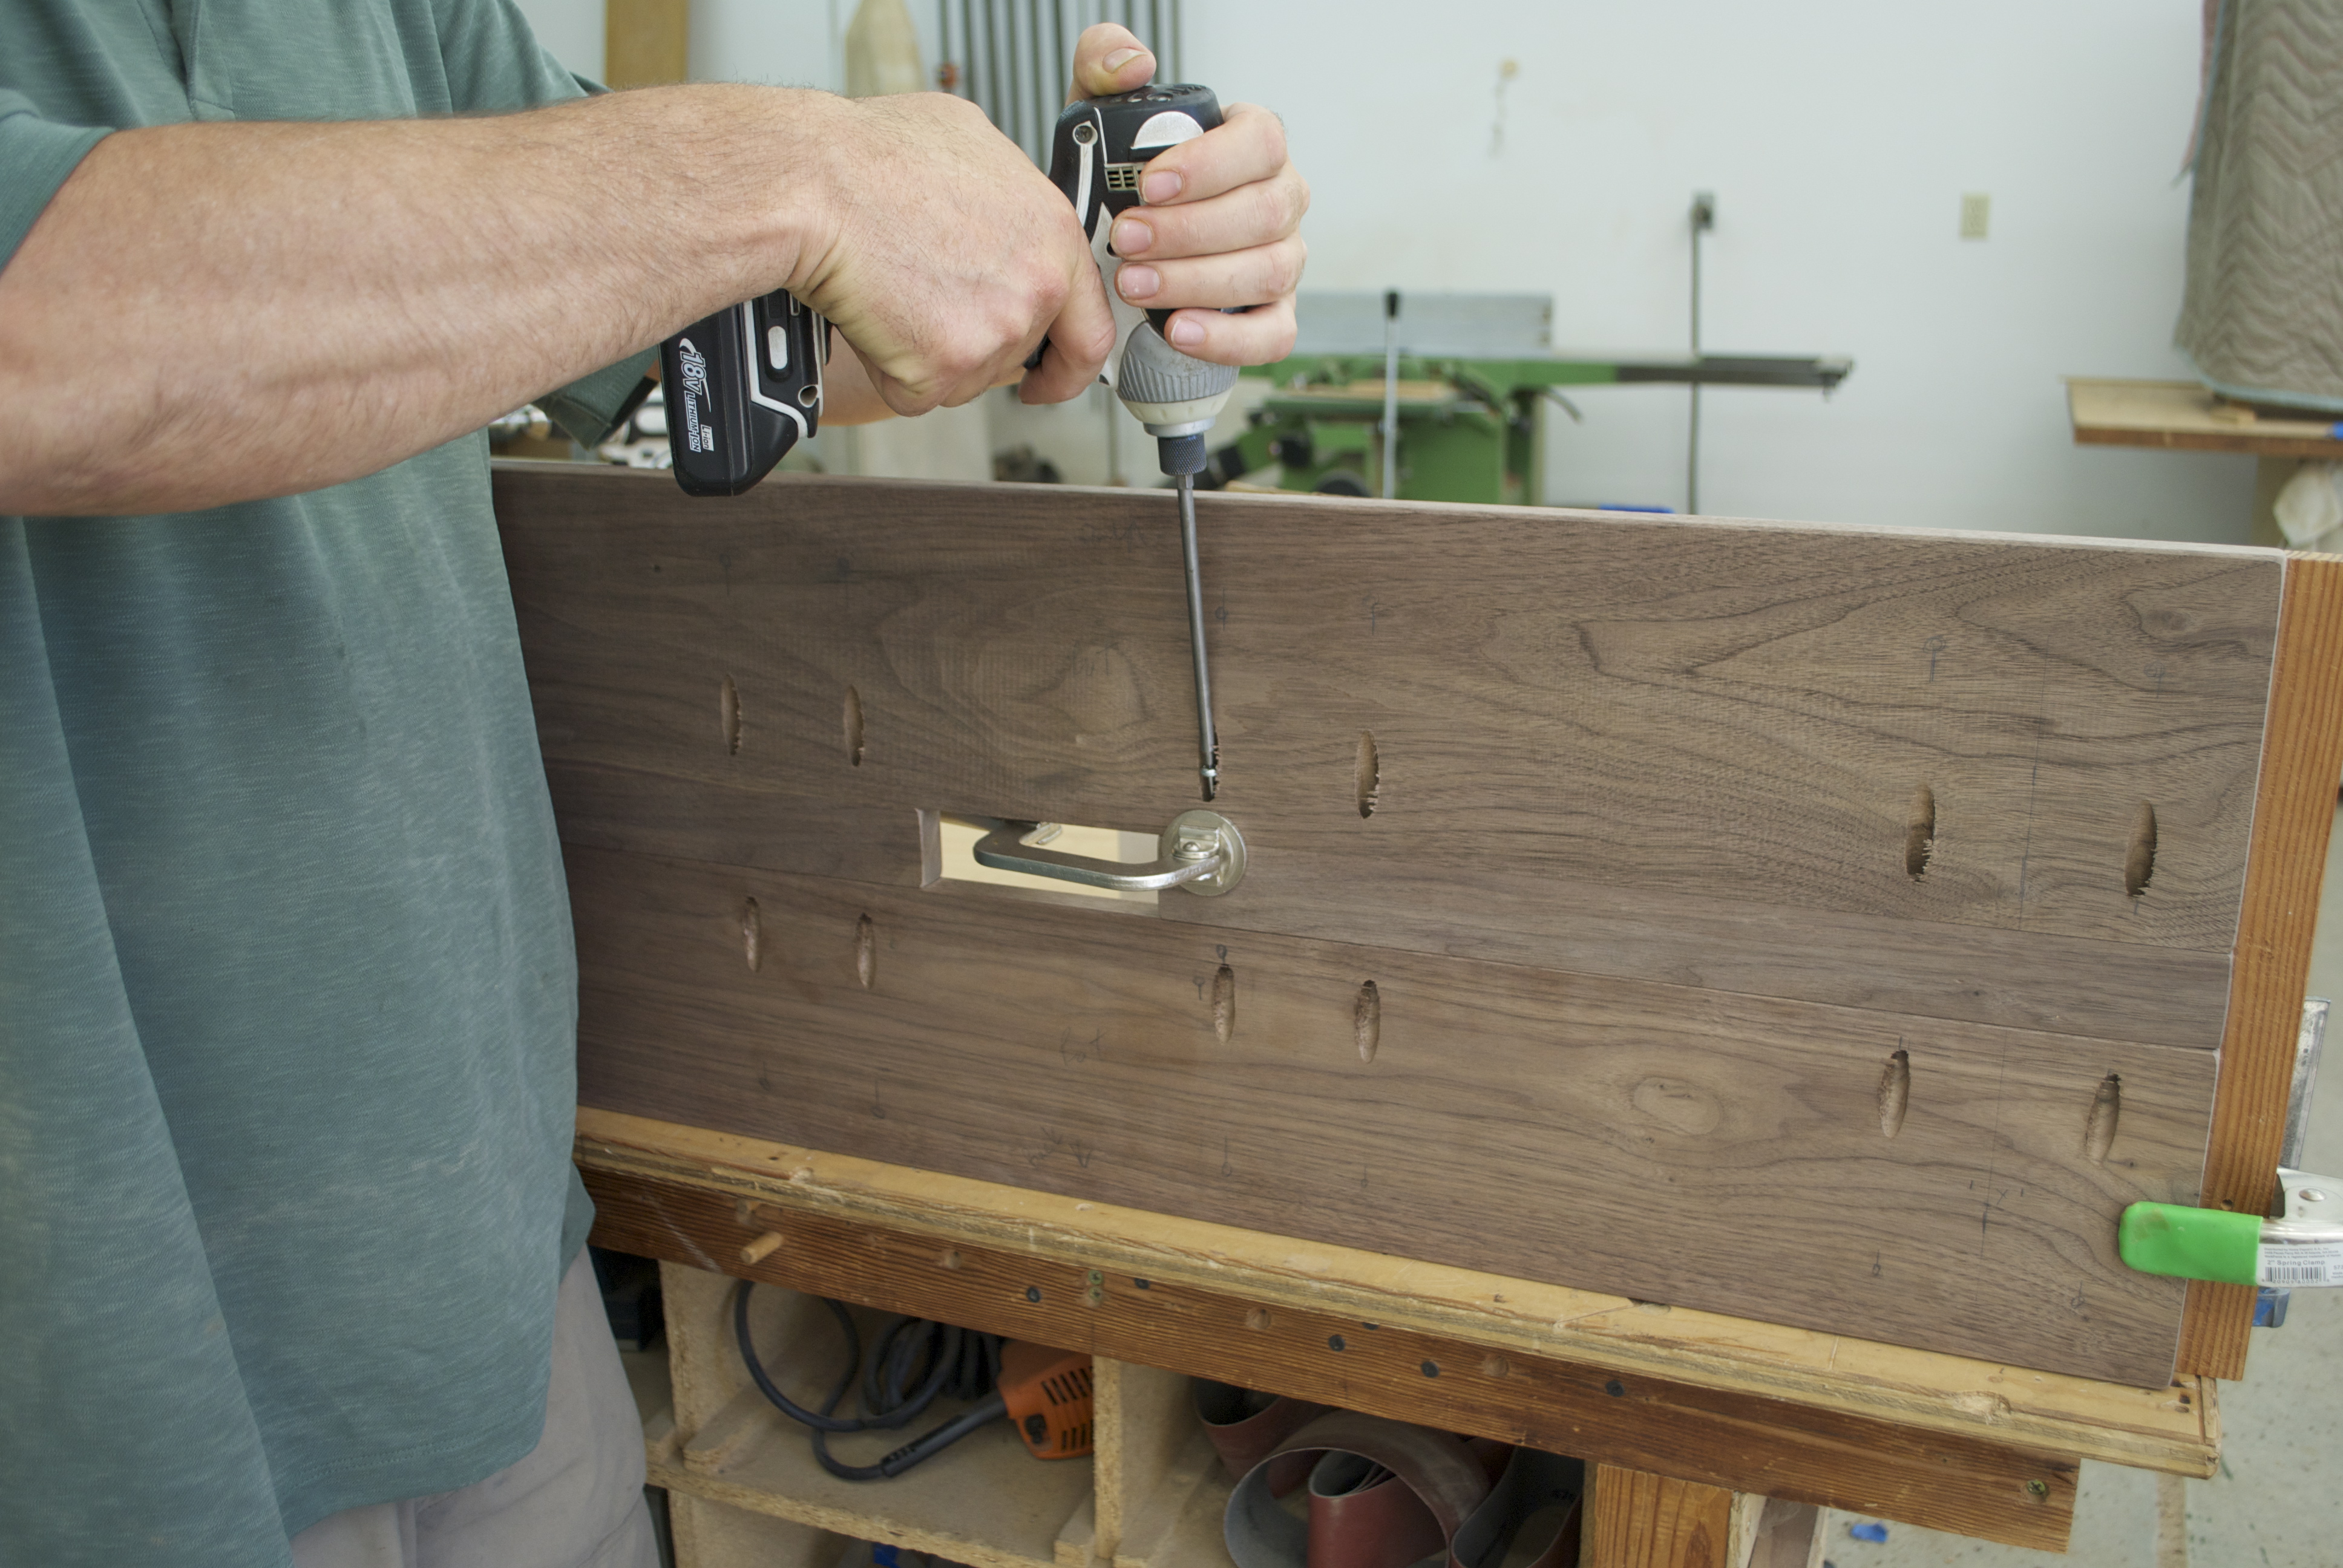
The 1 1/2″ wide gap in the middle is just big enough to slip the face clamp into.
A simple project that uses scap wood and is easy to carry.